“Business opportunities are like buses, there’s always another one coming.”
Richard Branson, Entrepreneur and Business Magnate
There are tons of animation software and mobile applications springing up. Each one promises advanced new features and a more efficient animation process.
See for yourself and check out the top 10 best animation software for freelance animators or go through the 14 of the best 2D and 3D animation software.
Chances are, you probably already have a trusted software you’ve been animating on for quite some time. After all, since your goal is to become a successful freelance animator, you must be equipped with good animation tools and sufficient animation know-how.
However, that doesn’t mean you should close the doors for good when it comes to exploring or even switching to other animation software or applications. And among those, you could try Procreate.
But what is Procreate? And how can you create your animations in Procreate?
What Is Procreate?
Image via Procreate
A digital illustration software launched in March 2011, Procreate has been used by tons of animators and animation studios, freelance illustrators and graphic designers, and even YouTubers and online influencers. It boasts unique tools and an intuitive user interface that allows you to sketch, draw, illustrate, paint, and animate.
Its credibility in the app stores has led to its success and the innovative development of its various features, particularly its animation features. The animation software has even won the Apple Design Award in both 2013 and 2022. With that, tons of animators have flocked to Procreate when it comes to creating their animations.
In this blog post, we’re going to explain why animators are creating animations in Procreate and even share a few tips and steps on how you can use Procreate for your animation career.
Glossary of Terms When Creating Animations in Procreate
GIF by abcnetwork via GIPHY
Before we get started on the animation process, here are a couple of words you might encounter when creating Procreate animations.
- Animation Assist: The main Procreate animation tool. Toggling this option will pull up a toolbar specifically designed for creating animations in Procreate.
- Loop: This is a setting that will play your animation from start to finish and then go back to the beginning. A cycle like what you see in GIFs.
- Onion Skin: Onion skinning is a technique in 2D animation that will allow you to see several animation frames at once. With that, Procreate has an onion skin layer. This is a faint layer that will show you the previous image in an animation sequence. There are also color codes, such as red for previous frames and green for upcoming frames.
- One Shot: This setting will play your Procreate animations from start to finish only.
- Ping Pong: Comparing it to the loop and one shot, this setting on the other hand, will play your animation forward then backward, back and forth.
- Position Animation: This is a type of animation wherein an object or element is animated by moving it across the canvas.
- Redrawn Animations: As the name suggests, this type of animation requires you to redraw an image several times to make and complete the animation frames.
- Transformation Animation: Slightly simpler compared to redrawn animation as you don’t have to redraw an entire image or element. Instead, you’re tweaking parts of the existing image so all these edits and modifications will then come together for the illusion of movement.
Keeping all these terms in mind, not only will you be able to maximize the features of Procreate, but you’ll also be more informed of the different animation techniques and types. However, this leads us to our next question: How exactly can you make animations in Procreate?
How To Make Animations in Procreate
Image via Procreate
Admit it; animating on new software or application for the first time can be quite intimidating. Not only is the interface different but the software might have some tools you’re not accustomed to using. Thus, slowing down your animation process.
That’s why we’ve provided a simple step-by-step tutorial on creating animations in Procreate should you want to dive right into this animation software. All in all, there are 5 steps on how to make Procreate animations.
Step 1: Set Up Your Canvas For Making Animations in Procreate

Image via Procreate
First, let’s start with the most important thing. Without it, you wouldn’t have a place to create your Procreate animations. This is your canvas.
Upon launching Procreate, you’ll automatically be directed to a gallery. This is where all your artworks will go. Click on the plus sign in the upper right corner to start setting up your blank canvas.
Then, adjust your canvas size. You can click on the first option, “Screen size” to immediately get started. But of course, whichever size suits your taste is good enough.
Once you have set your canvas, you’ll be greeted with tools scattered in three main sections: the top left, top right, and along the lower left of the screen.

Image via Procreate
On the top left side, you’ll find the basic editing tools needed when it comes to adjusting your animations in Procreate. From left to right, you have the gallery, the actions menu, adjustments, selections, and transform.
The gallery, as mentioned earlier, is where you can find and manage your existing animations or other artworks. There, you can import files and photos, create a new canvas, and publicly share your animations.
The action menu is shaped like a wrench. You’ll find options such as “Insert A File,”; “Insert A Photo,”; and “Take A Photo.” That way, you can easily add whatever image or file you need to animate.
The adjustments icon is where you can add the finishing touches or special effects to your animations or illustrations, such as sharpening or blurring an image.
The selections icon will allow you to isolate an element of your animation to modify your Procreate animations efficiently.
The transform icon lets you manipulate your image by scaling or warping it. Through it, you can stretch or move your artwork around when editing it.
On the top right side, you will find the tools to create your Procreate animation. From left to right, you have the paint tool, smudge tool, erase tool, layers, and color tool.
And finally, along the sidebar, which is located on the lower left of your screen, you’ll see modification tools that will allow you to adjust the size and opacity of your brushes and undo or redo actions, among others.
From the top to the bottom, you have the icons to adjust your brush size, modify your animations, edit your brush opacity, and undo and redo up to 250 actions.

Image via Procreate
Step 2: Fix Your Background Color
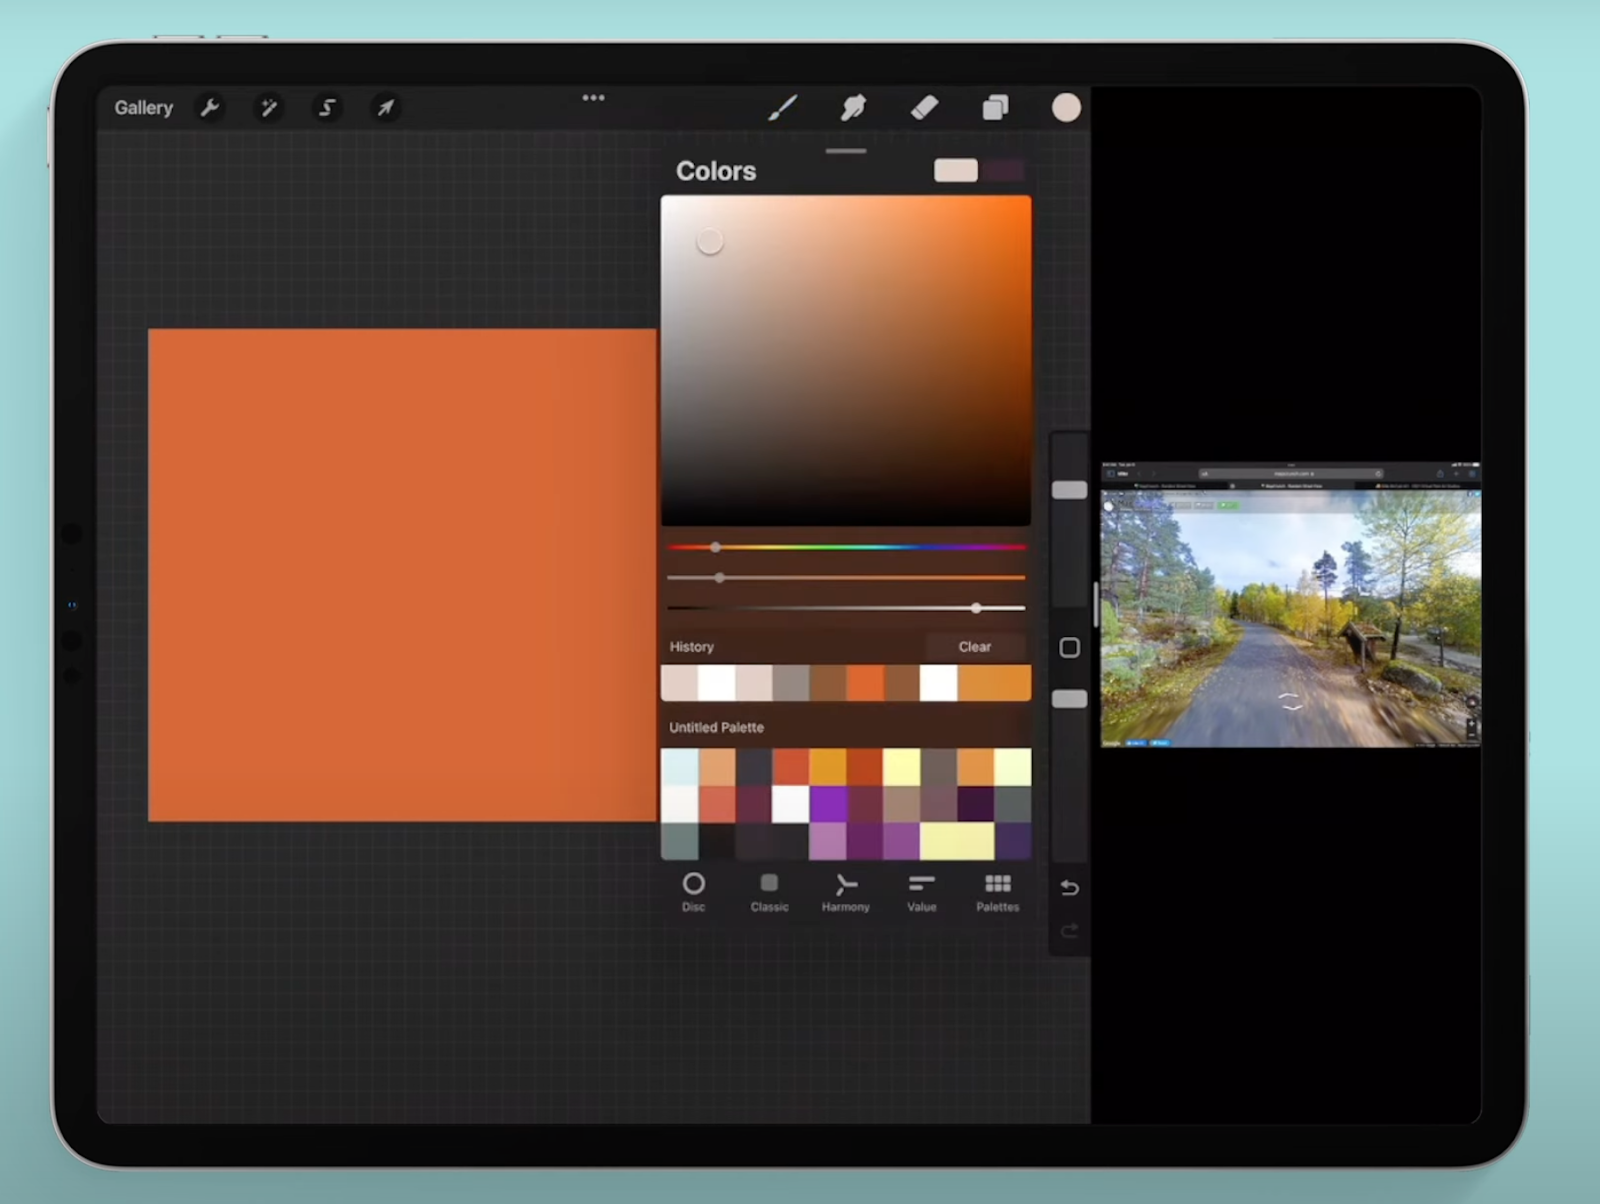
Image via Procreate
Now that you have a general idea of Procreate’s user interface and its various tools, it’s time to fix your background.
If you want to change your background color, you can click on the layer menu –– which are the two small squares at the upper right corner of your screen –– and tap on “background color”. There, you’ll be presented with a palette of different colors for your background.
Step 3: Add And Edit Your Animations In Procreate

Image via Procreate
For the third step, it’s time you let’s add an image. Access the actions menu –– the icon shaped like a wrench –– and click on “Insert A Photo.” You’ll then be directed to your existing elements or illustrations.
Tap on the one you want for your animation to get you started.
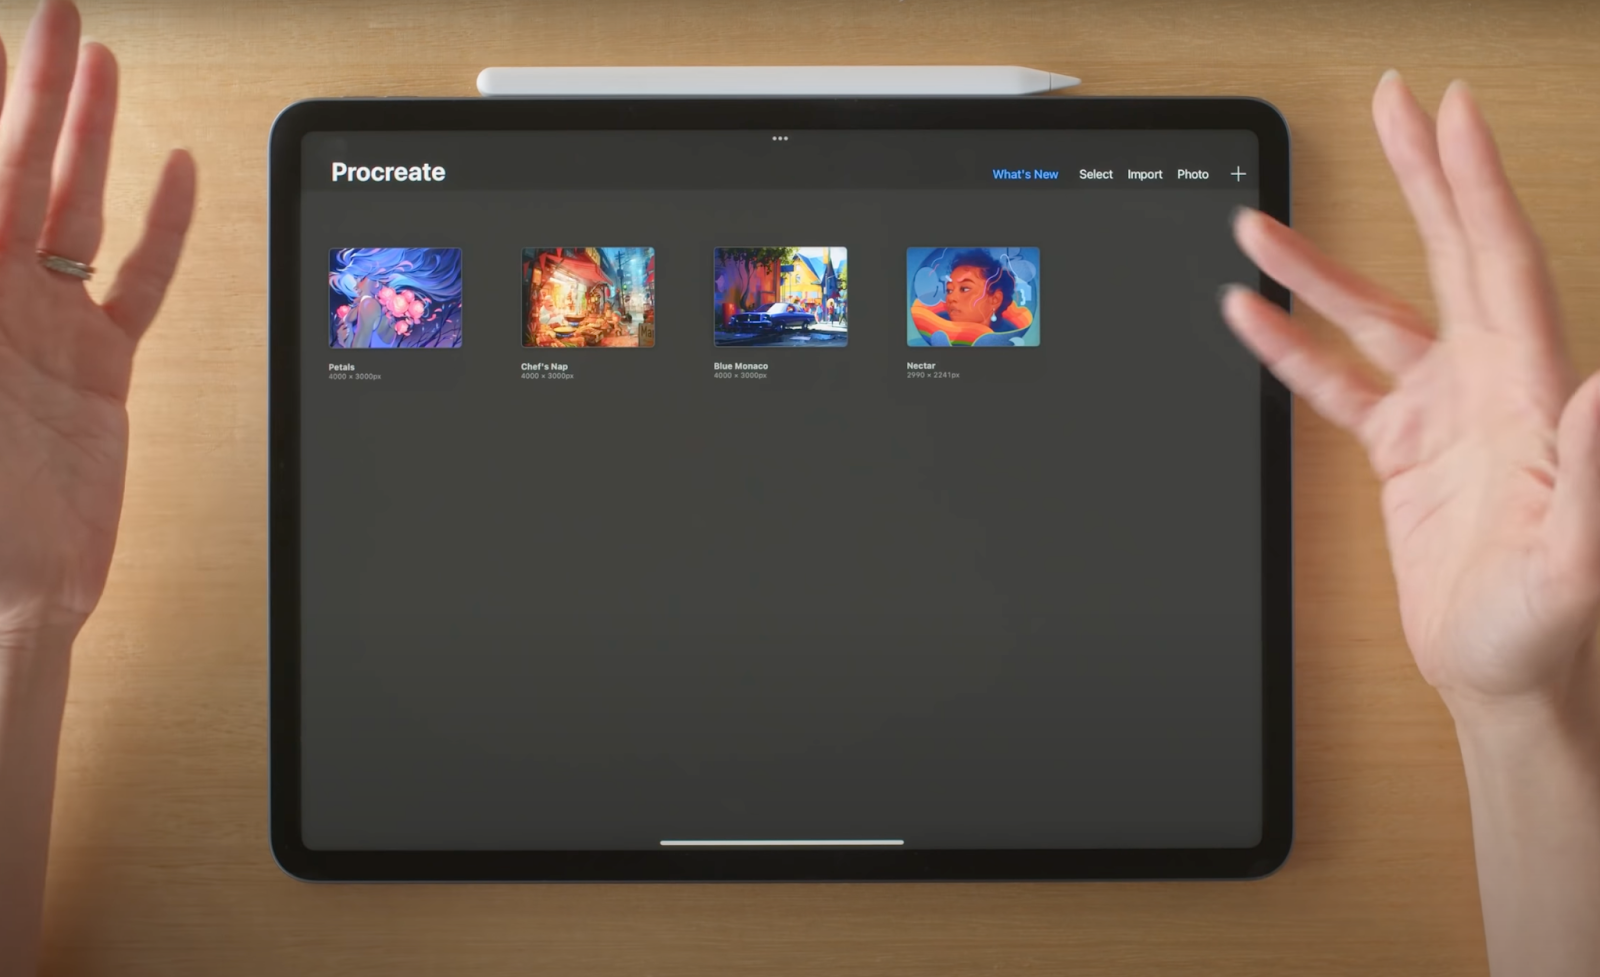
Image via Procreate
While you can also create an image from scratch, having existing artwork at hand can make your animation process a whole lot easier. You also have the option to crop a portion of the image or element if you don’t want to animate the entire thing.
Step 4: Add In Your Procreate Animation Layers

Image via Procreate
But before you add the layers to your animation, don’t forget to turn on Procreate’s Animation Assist. Animation Assist will pull up a toolbar designed specifically for creating Procreate animations.
You can turn it on by tapping on “Canvas” in the actions menu and toggling on the Animation Assist icon.
Once that’s set, create more details for your animation by adding animation layers. Go back to the layers menu and click on the plus sign to add another layer. Don’t forget to remain organized and name your sketch or layer.
On this second layer, you can sketch finer details and trace lines, adjust an element’s position, and emphasize particular details on your initial sketch. Making these small adjustments will make for more professional Procreate animations.
You should keep doing this to create the illusion of movement in your animations in Procreate. But when duplicating, choose to duplicate your most recent frame for the sake of continuity. Remember, adding more frames will equate to a longer and smoother animation.
As you adjust or move your animation’s elements, you can see where it used to be on screen through a faint layer also known as onion skin. Procreate’s onion skin feature shows you your canvas’ previous frames so you can better see how your images or illustrations will be animated.
From time to time, you should play out your Procreate animations just to accurately see whether it’s moving the way you want them to. Naturally, it will be a little choppy, but that’s alright as long as it gives you a clearer idea of what you want to do next.
Step 5: Finalize and Export Your Procreate Animation

Image via Procreate
In order to ensure all the layers have been made and your Procreate Animation is moving all smooth and steady, you can use Procreate’s Ping Pong option to play it from start to finish and back again. This will help you track and remedy any jerky movements.
Once that’s been finalized, and you’re all set, you can export and share your new animation. On the actions menu, tap on “Share.” There, you can find three options for formatting your animations in Procreate: Animated GIF; Animated PNG; and Animated MP4.
You can also adjust the size of your Procreate animations to make them compatible with wherever you want to upload them to.
So, in just 5 steps, you have already created and shared a Procreate animation –– Which shows how simple and intuitive using this animation app really is. But that’s just one reason why animators are creating their animations in Procreate. Here are the others:
Why Are Animators Creating Animations In Procreate
- Creative Animations In Procreate Is Intuitive For Animators
GIF by YTheLastMan via GIPHY
As we shared earlier, Procreate is so easy to use in making your animations. With its streamlined interface, even animators using it for the first time can get a hang of it. Basically, you don’t need to worry about the technical aspects, such as dealing with the right canvas size, to make the most out of Procreate.
It allows almost anybody to create beautiful artworks and animations in just a few simple steps. And although it boasts a lot of complex and advanced features, it’s not as intimidating as other animation applications. Whether you just want to play around and improve your animations or you’re into creating long and complicated ones, Procreate will provide whatever you need.
Plus, by providing a guide, we’re making it even easier. Our simple step-by-step guide above will show you how easy it is to make Procreate animations.
- Make Edits On Your Animation In Procreate Without Destroying It
GIF by AppleTVPlus via GIPHY
One thing Procreate has over most editing software, and mobile applications is its layer system. Whenever you need to tweak or adjust an element in your animation, you can simply add a layer and sketch without fear of ruining the rest of your illustration.
Make a layer for each incremental movement of your animation, that way you’re sure to make adjustments without affecting the surrounding image or element.
Another editing software that makes use of layers is Photoshop. Similar to it, Procreate allows you to organize your layers, combine them in groups, and transform multiple layers at once.
- You Can Make Animations In Procreate Wherever You Are
GIF via GIPHY
Previously, the Adobe editing software Photoshop was mentioned. It is true that they share the same feature of having layers. However, what pulls Procreate apart is how convenient and accessible it is.
Procreate is a mobile application, so as long as you have an Apple iPad, you can go ahead, download the app, and work wherever you want to. You don’t necessarily need a desktop to create your Procreate animations. You can access Procreate’s wide range of editing and animation tools, whether it be in your car, a coffee shop, or in your bedroom.
- Procreate Has Everything You Need In One App
GIF by angietribecatsbs via GIPHY
Whether you’re a beginner launching your freelance animation career or a professional animator, Procreate can offer whatever you need. It’s basically a complete art or animation studio at the tips of your fingers.
Case in point: Procreate has a brush library that houses over 200 customizable brushes you can use when doing all sorts of art techniques on your animations. They also have a dual-texture system that allows you to mix and match various brush types. Plus, you can even create your own brush.

Image via Procreate
Procreate also has advanced features such as color harmony that simplifies the process of choosing complementary colors and stroke stabilization that helps you make smooth and effortless bold strokes on your animations in Procreate.
Furthermore, they even have a Beginners Series that will teach you the fundamentals of using Procreate. Through their four-part series, you will discover new techniques, understand the value of different animation tools, and empower your own creative skillset.
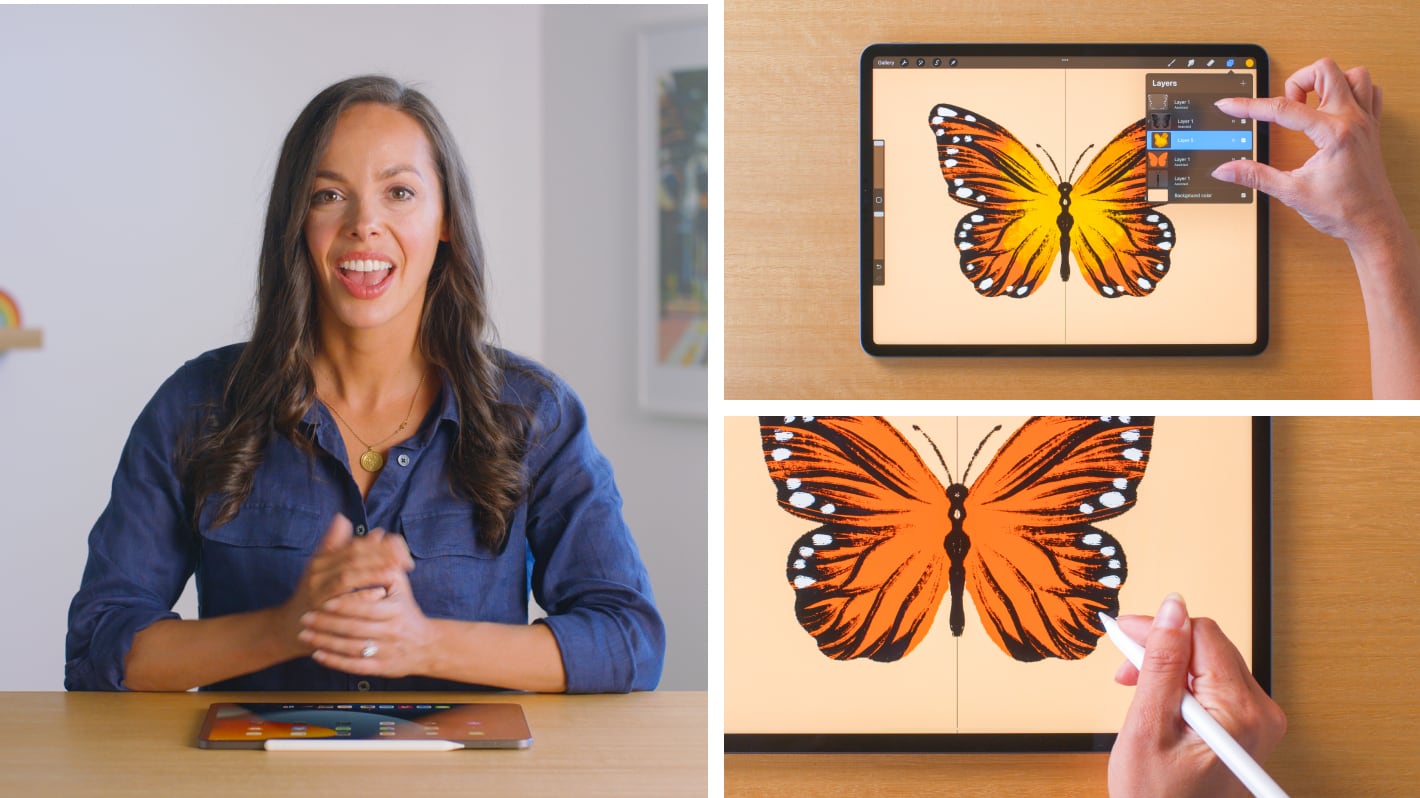
Image via Procreate
Ultimately Procreate appears to be the ideal animation software for those looking to explore or make a switch.
So Why Are Animators Creating Animations in Procreate
Even if you probably have reliable animation software, it doesn’t hurt to explore your other options. And with the world constantly churning out innovative software and applications every day, why not check out what might be the next best thing? Enter Procreate.
Procreate is a digital illustration mobile software that has shot itself to the top of the Apple charts and is used by a lot of creative individuals. With its advanced features and complete set of tools, it pretty much acts as a portable animation studio. And who would want to miss out on that?
Creating Procreate animations can be done in just 5 steps. First, set up your canvas. Second, fix your Procreate background. Third, add and edit the artwork for your animation. Fourth, add the layers for your adjustments and edits. And fifth, finalize and export your animation.
But its simplicity is only one of the reasons animators are creating animations in Procreate. Overall, the illustration and animation software is intuitive and convenient to use wherever you are. Its layer system lets you make edits without ruining the surrounding elements. And finally, Procreate has everything you need in a nifty little app.
If you want more in-depth information on Procreate, you can also read up on their consumer insights and discover the latest news on the app. Procreate indeed seems like such an ideal animation software but, as an animator and businessman, don’t forget to consider as many things before deciding whether or not you want to use it.
For more tips on developing your business skills as a freelance animator or animation studio owner, you can join our informative free masterclass, download a copy of our free marketing handbook, and check out our blog on “How to Start an Animation Studio”!