
"Animation textures are the visual language of 3D models, conveying the unique characteristics and story of each virtual object."
Lee Salvemini
If you're a budding animator who is eager to make a mark in the world of 3D animation, the road might seem fraught with challenges. One key query that often comes to mind is how to create textures for 3D models. As freelance animators or animation studio owners just starting out, it's crucial to comprehend the process of texturing.
Mastering this can provide a significant boost to your portfolio, attracting higher-paying clients and solidifying your professional standing. In this comprehensive guide, we will simplify the complex art of texturing and demonstrate how to create textures for 3D models, step-by-step.
Let's embark on this exciting journey together and transform one of the hurdles of the animation world into a stepping stone to your success.
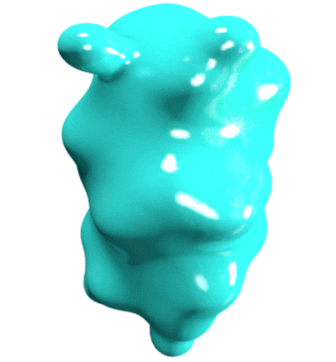
Cover GIF by Last Lauf via GIPHY
The Importance of Learning How to Create Textures for 3D Models

Texturing is not just another step in the process of 3D modeling; it's the soul that breathes life into otherwise lifeless structures. Texturing is a model of what skin is to a human body. It not only provides an outer covering but also gives the model a unique identity, a sense of depth, a tactile feel, and an overarching realism.
By learning how to create textures for 3D models, you gain the ability to portray any surface, whether it's the rough texture of a rock or the smooth polish of a metallic surface. This ability can dramatically enrich your creative expression and set your work apart in the increasingly competitive animation market.
Step 1: Understand The Basics

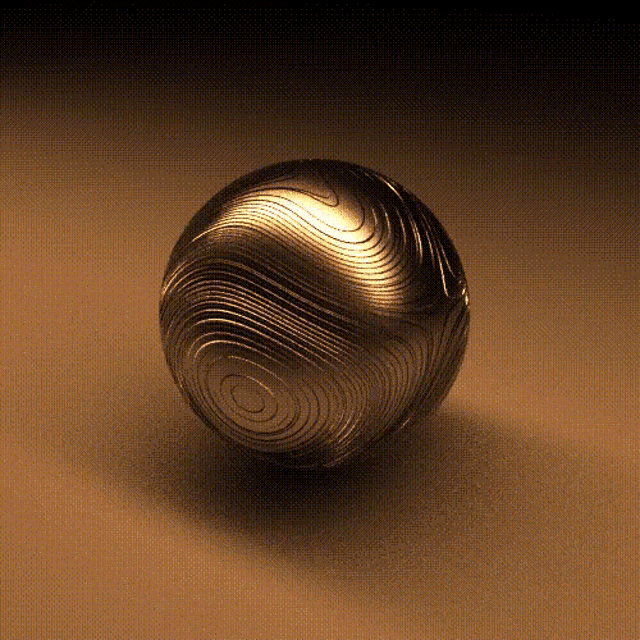
Image by Dream Farm Studios
The journey on how to create textures for 3D models starts with understanding the fundamental principles of texturing. You must familiarize yourself with the concepts of texture mapping, UV mapping, and the intricacies of surface details. A sound grasp of color theory can go a long way in creating textures that blend harmoniously and reflect light realistically.
Further, understanding how lighting interacts with textures will enable you to predict how your model will look in different environments and under various lighting conditions. With this basic knowledge at hand, you're now equipped to choose the right software that certifies your needs and budget.
Step 2: Selecting the Right Software

GIF by Capgemini India via GIPHY
The landscape of software tools designed for texturing is vast and varied. Blender, Substance Painter, and Photoshop are some of the leading options, each offering a unique set of capabilities that cater to different skill levels and budget requirements.
Blender, a free, open-source 3D creation suite, offers comprehensive tools for modeling, rendering, animation, simulation, and of course, texturing. Substance Painter, a favorite among professionals, provides a robust set of features for 3D painting, including a real-time viewport to preview texture rendering.
Photoshop, while not specifically a 3D tool, is often used in combination with other software for creating texture maps. Choosing the right software is a vital step on your path to learning how to create textures for 3D models.
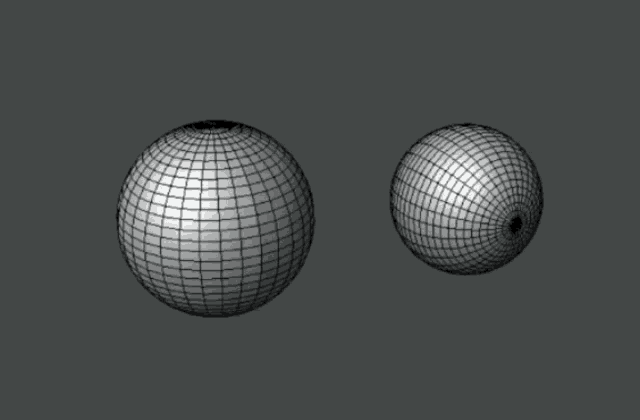
Step 3: Creating a UV Map
GIF by Hey Duggee via GIPHY
Once you've chosen your software, the first technical step in the process is to create a UV map. In essence, a UV map is a 2D representation of your 3D model, and it acts as a blueprint that guides where and how the texture is applied.
This step is much like unfolding a cardboard box into a flat surface to paint it evenly. Mastering UV mapping is an integral part of learning how to create textures for 3D models.
Step 4: Painting Your Texture
GIF by Simon Falk via GIPHY
Now comes the exciting part of the process: painting your texture. This step is where your creativity and artistic skills come to the fore. Whether you're aiming for a realistic look or a stylized appearance, the key is to consider your color choices, light effects, and surface details carefully.
Start by laying out the base colors, followed by adding layers of details like scratches, dirt, or reflections. Remember, the devil is in the detail. The more attention you pay to the minutiae, the more lifelike your textures will appear.
Step 5: Applying Texture to Your 3D Model
With your texture created, it's time to apply it to your 3D model using the UV map as a guide. This is where you'll see your model come to life. During this step, you may need to adjust the scale, orientation, and position of the texture to ensure it aligns perfectly with the model's geometry.
The result of careful alignment will be a harmonious interplay between the model's shape and its texture, creating a realistic and visually pleasing final product.

GIF by Joe_LeSale via Tenor
The final step in learning how to create textures for 3D models is rendering. Rendering enables you to see how your textured model looks under various lighting conditions. It's like the final dress rehearsal before the show. This stage allows for adjustments and fine-tuning, ensuring that your model looks as realistic as possible under different light intensities and angles.
Enhancing Your Skills Further: Business of Animation’s Accelerator Program

While this guide provides a comprehensive overview of how to create textures for 3D models, there's so much more to learn to truly master the art and business of animation. That's where the Business of Animation’s Accelerator Program comes into the picture.
Our program offers on-demand video lessons, live mentorship calls with seasoned professionals and a bustling, supportive community of like-minded animators.
From technical aspects, like how to create textures for 3D models, to tackle challenges related to marketing and negotiation skills, the program covers everything you need to know to start and grow a successful animation business.
How to Create Textures for 3D Models - An Essential Skill for Animators
Mastering the art of how to create textures for 3D models is an essential part of your journey as an animator. It's a skill that not only enhances your 3D models but also adds value to your overall portfolio, helping you attract better clients and higher-paying projects.
Ready to take your animation skills to new heights? Join the Animation Business Accelerator Program and don’t forget to check out our blog on “How to Start an Animation Studio” for more helpful insights.
Here's to you and your exciting journey ahead in the world of animation! Your time to shine is now!